IoT Hardware Prototype Elective 2021
By Diego Martí Monsó
Published on 11 Sept 2021

IoT hardware prototyping elective Blog post
30/7/2021
Structure:
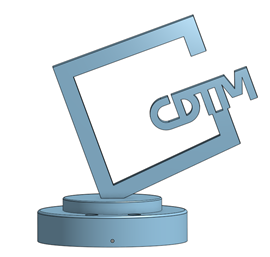
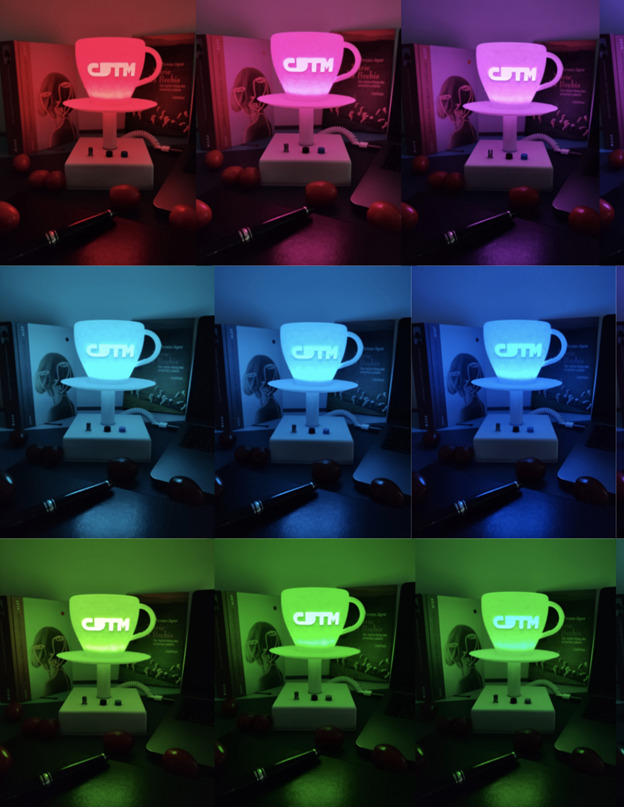
 After settling on an idea, the young hackers started the design process. First, by drawing out lamps with pen and paper. These designs were used as blueprints to create a Computer Aided Design (CAD). For this, designs start as a 2D sketch. To avoid conflicts, best practices required the shape to be “constrained”. Constraints define the relation between two elements in a sketch, e.g. the distance between two points. We then use the extrude functionality to make the shape into 3D. A majority of the students were designing for the first time, thankfully they received a comprehensive training from Jose by designing a CDTM lamp before moving to their own designs.
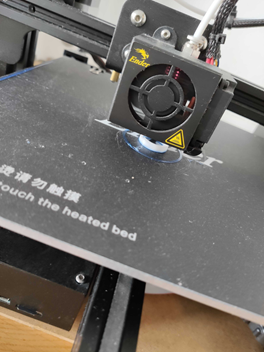
 Once the CAD designs were done, the 3D printing sprint began. We learned the basics of how 3D printing works, the different types of 3D printing such as selective laser sintering, stereolithography and fused deposit modeling. In order to achieve high quality printing results, it is important to manage factors such as: layer height, infill density, and infill patterns. Layer height is typically 0.2 mm, the thinner the layer height the more detailed the object will be, however, this influences printing time tremendously. Infill density, depends on the chosen strength and stiffness, designers must decide if they want a rather porous structure or one that could withstand a lot of weight. This is also connected with infill pattern, which influences the flexibility and strength of materials. We used these principles for saving materials when printing. Minor changes in the designs were necessary, but as the printing began, we saw our creations slowly come to life.
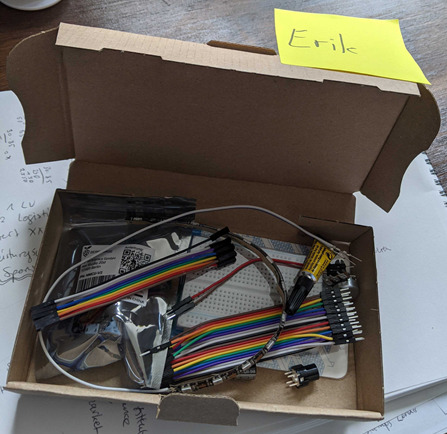
 But an IoT lamp is not only 3D printed plastic. It also needs a microcontroller and lots of wiring. Connecting the microcontroller to the lights, buttons, and transistors was extremely difficult. Partly because the tutorials had to be carried out via Zoom, and the fact that there is little to no feedback when things don’t work. But with perseverance, lots of patience, and the help of Valentin, everyone was able to wire their lamps correctly.
 After the basics of microcontrollers session, the lamp could light up a room, but it wasn’t interconnected, so it was not cool enough. Now we had to start coding with the basics of programming lecture led by Vincent. In this lecture, we learned how we could program our lamp to do futuristic things such as integrate with sensors, respond to APIs, or even be controlled using Slack. The possibilities are endless.
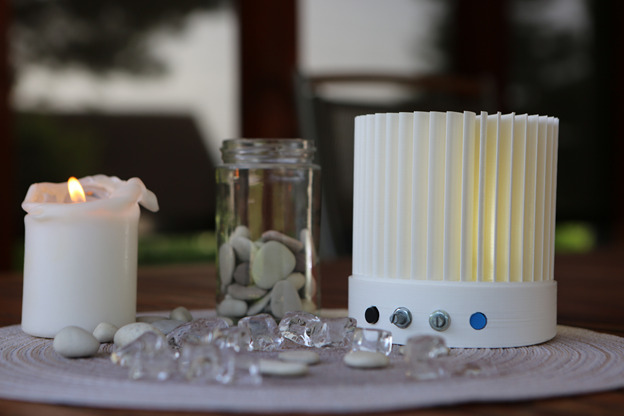
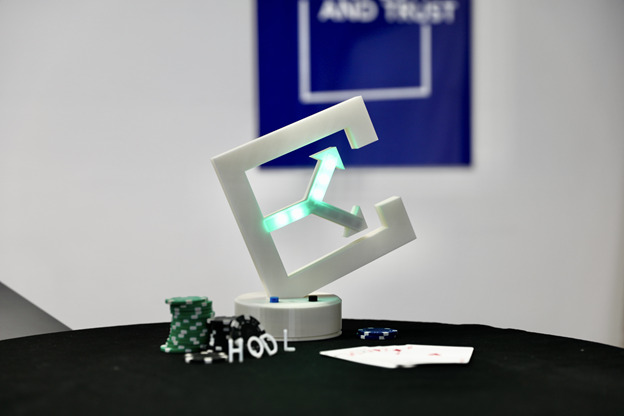
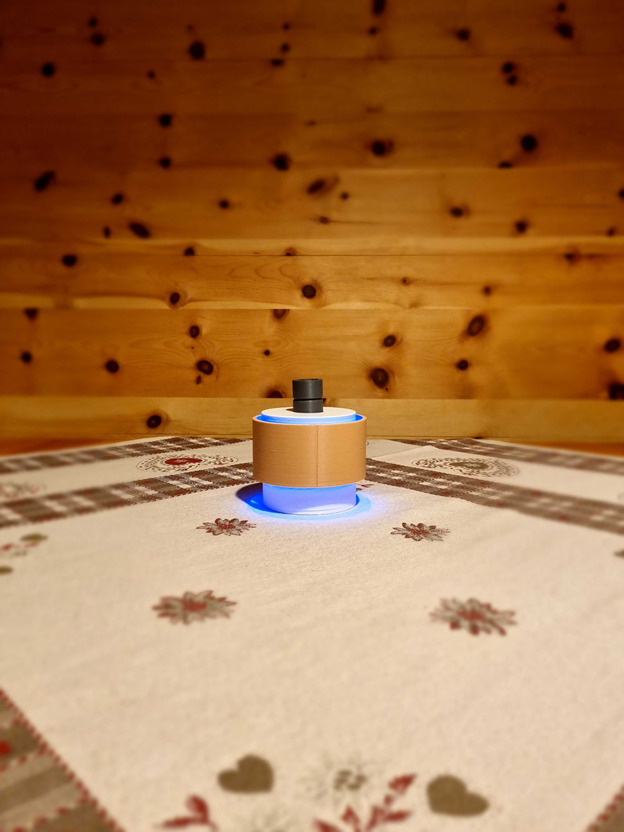
After having created functional IoT lamps, we looked into how to raise some money to take our product to market, and what better way to do that than with crowdfunding. Erik taught us how to take great pictures of our products and market effective crowdsourcing campaigns. Some products did have a great photo session.
 How did this course affect me?
This course woke up my curiosity for IoT devices. I would’ve never thought a lamp could be turned on with a Slack message. Equally surprising, was how easy and simple it is to prototype nowadays. Once we knew the CAD design basics, we learned the rest on your own; This elective also made me much more confident when it comes to electronics and coding. I now believe I can build my own IoT prototypes and teach myself what I don’t know. I’m looking forward to putting my learnings into practice in my own entrepreneurial projects.
By: Daniel Quiroga (Spring 21)
What is the CDTM?
The Center for Digital Technology and Management (CDTM) is a joint institution of the two universities in Munich, the Ludwig-Maximilians-Universität München (LMU) and the Technische Universität München (TUM), offering the interdisciplinary add-on study program Technology Management.
Students from various study backgrounds with creative ideas, great motivation, and an entrepreneurial mindset are offered the tools to put their ideas into practice. Find out more about the CDTM here.
- Intro
- Ideation
- CAD Design
- Basics of 3D printing
- Basics of microcontrollers
- Basics of programming
- Basics of crowdfunding and visual product representation
- How did this course affect me?
- What is the CDTM?